
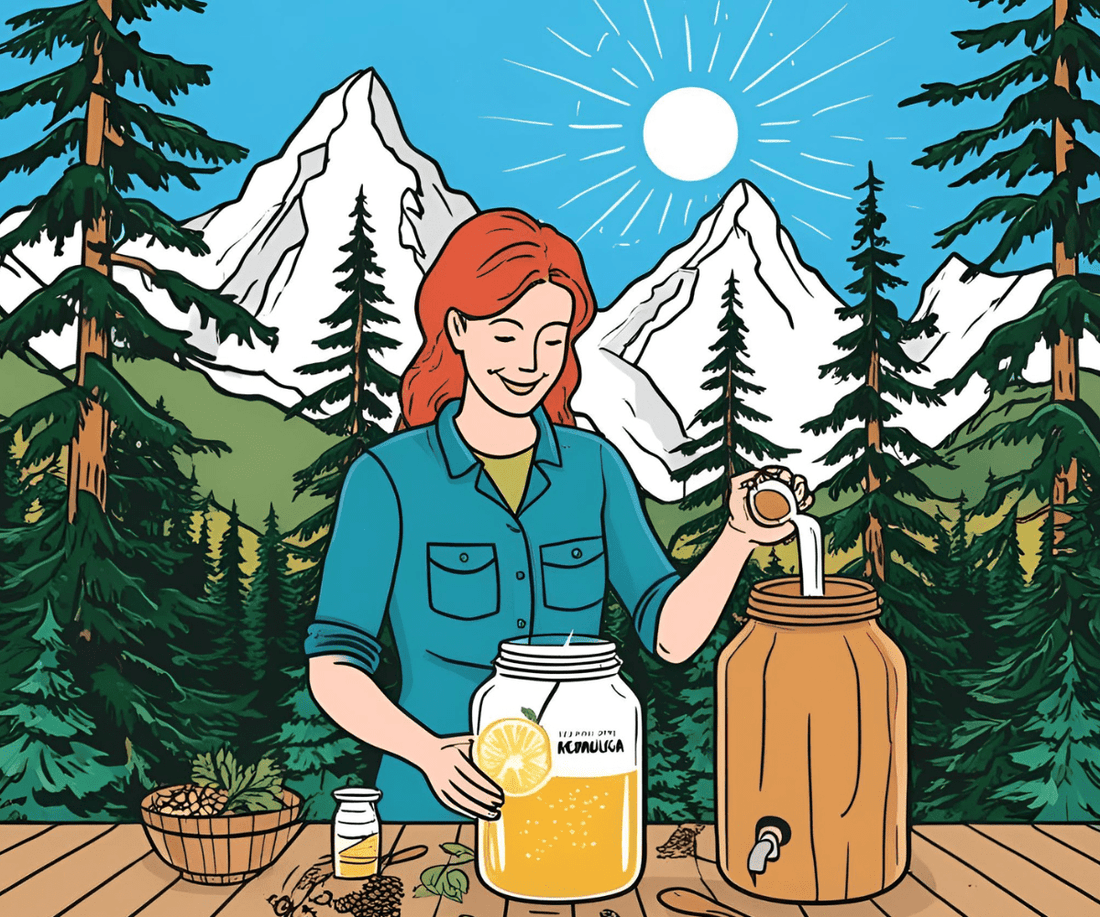
Homebrewing Kombucha at Altitude: Tips for Success

If you’ve ever tried brewing kombucha at high elevation and thought, why is my SCOBY acting weird?—you’re not alone. Whether you're in Denver (5,280 ft), Salt Lake City (4,226 ft), Santa Fe (7,199 ft), or living your mountain life dream, brewing kombucha at altitude comes with unique challenges.
But here’s the good news: kombucha is highly adaptable—just like the people who brew it.
At 3rd Bird Kombucha, a craft kombucha company in Denver, Colorado, we’ve been fermenting at 5280 feet for years. We’ve tested, tweaked, and perfected a foolproof method to ensure you get the best temperature, carbonation, and fermentation results—no matter where you’re brewing at altitude.
If you’ve struggled with flat kombucha, slow fermentation, overly sour brews, or exploding bottles, this post will show you how to brew kombucha like a pro at any elevation. And if you want to see exactly how to we brew at altitude, my No-Stress Kombucha: Step-by-Step Masterclass to Homebrew Success- will walk you through the entire process so it that you end up with consistently tasty brews regardless of where you live.
Let’s dive in!
Why Brew Kombucha at Home?
Before we get into the science of high-altitude brewing, let’s talk about why making kombucha at home is worth it.
- Save money – Store-bought kombucha is $4-6 per bottle, while homemade kombucha costs pennies per glass.
- Control your ingredients – No added sugar bombs or artificial flavors—just real fermented tea, probiotics, and natural ingredients.
- Flavor it your way – Want Pineapple Hops? Strawberry Basil? Go wild.
- Boost gut health – Probiotics + organic acids support digestion, immunity, and the brain-gut connection.
- Eco-friendly – Reduce single-use bottles by brewing your own.
- Never run out – With a strong kombucha culture (SCOBY) and starter tea, you can keep brewing forever.
And if you’re thinking, but isn’t brewing kombucha at home tricky?—it doesn’t have to be.
Inside our No-Stress Kombucha: Step-by-Step Masterclass, we teach you a foolproof method to brew kombucha quickly and effortlessly—without the stress, mess, or confusion.
How Does High Elevation Affect Brewing?
Brewing kombucha at elevation is different from brewing at sea level because:
Cooler Temperatures = Slower Fermentation
Most homes in Denver, Salt Lake, or the mountains stay cooler than kombucha’s happy range of 75-85°F. That means your first fermentation (F1) can take longer.
Lower Humidity = Dried Out SCOBYs
High-altitude air is drier, which means your SCOBY can lose moisture faster than it would at sea level.
Lower Air Pressure = Stronger Carbonation
The second fermentation (F2)—where you get carbonation—can be trickier at elevation because CO2 expands faster in lower-pressure environments.
More Variability within Your Homebrew Batches
One batch might ferment in 7 days, another in 14—even if your brewing process stays the same.
But don’t let altitude scare you! Kombucha is resilient. With a few altitude-friendly brewing tweaks, you’ll be making delicious, probiotic-rich kombucha at home with perfect fizz and flavor.
Perfecting Your Homebrew Setup
If you're new to brewing kombucha at elevation, setting up your fermentation station correctly from the start will save you time, frustration, and wasted batches. Here’s what you need:
1. The Right Covering: Say No to Coffee Filters
Most new brewers worry about mold, but the real enemy? Fruit flies. These tiny pests love kombucha, and once you see one, it’s already too late—they’ve laid millions of eggs in your batch. 😬
Why avoid coffee filters as a cover for your homebrew set-up?
- Too much airflow = your SCOBY dries out faster
- Inconsistent moisture = weaker fermentation
- Not enough protection = don’t block out small airborne contaminants as well as a denser fabric. This means fruit flies can squeeze through tiny gaps and loss of your kombucha homebrew.
Best alternative? A cotton cloth or tightly woven dish towel.
- Allows airflow but prevents excessive evaporation
- Keeps out dust, fruit flies, and contaminants
- Helps maintain stable fermentation conditions
2. Choosing the Right Brewing Vessel
Stick with glass or ceramic—no metal or plastic, which can leach chemicals. If your air is especially dry, consider a vessel with a wider base and slightly taller walls to slow down evaporation.
Step-by-Step: Brewing Kombucha at High Altitude
Step 1: Create a Warm Brewing Environment
Since high-altitude homes tend to run cooler, keeping your brew at the right temperature is key.
- Use a seedling heat mat – This keeps your brew in the ideal 75-85°F range. Wrap it around you kombucha jar to keep it nice and toasty.
- Pick the right location – Avoid drafty windows or basement storage. A warm cabinet works great.
- Monitor temperature – A simple stick-on thermometer on your brewing jar helps track fermentation.
Step 2: Adjust Your First Fermentation (F1)
Your kombucha microbes (SCOBY + starter tea) need time to work their magic, but at higher elevations, they might move slower than expected.
How to know when F1 is ready:
- Taste test: Sweet = needs more time. Tangy = ready for bottling.
- pH test: Kombucha should be between 2.5-3.5 before bottling.
- Visual check: A new SCOBY should form at the top of your brew.
Altitude Tip: If your brew is taking longer than 10 days, don’t rush it! Patience is the name of the game here.
Step 3: Get Perfect Carbonation in Second Fermentation (F2)
This is where high-altitude brewers run into kombucha geysers. 🫧
Since CO2 expands more at elevation, pressure builds faster in bottles.
How to avoid explosions:
-
Burp bottles daily – During the summer months, burp your bottles. Open them once a day to release pressure.
-
Chill before opening – Cold kombucha foams less than room temp.
- Add flavors with higher sugar content carefully- honey or juice can over-carbonate fast.
Shortcut: When you enroll in Our No-Stress Kombucha Course, you'll learn the exact second fermentation formula for perfect fizz—every time. Enroll TODAY!
Common Homebrewing Mistake
Mistake #1: Brewing Too Cold
Fix it: Use a heat mat or move your brew to a warmer spot.
Mistake #2: Forgetting to Adjust Brewing Time
Fix it: Give your first fermentation an extra few days and check the pH.
Mistake #3: Over-Carbonating Bottles
Fix it: Burp bottles daily + chill before opening.
Mistake #4: SCOBY Drying Out
Fix it: Keep your SCOBY covered in starter tea to stay hydrated.
Master Kombucha Brewing at Home at Any Elevation
If you’re tired of guessing and want to brew kombucha with confidence, our No-Stress Kombucha Masterclass is your shortcut to homebrewing success.
No-Stress Kombucha: Step-by-Step Masterclass:
- A complete step-by-step video lessons ensuring you perfect brew each and every time.
- Recipes for 3rd Bird Kombucha's best selling flavors.
- Resources (handouts, checklists, etc.) at your fingertips so you never wonder what is going on with your kombucha.
- Brew Log and Recipe Guide
- Kombucha Missteps Successfully Sidestepped Guide- your backstage pass to
- Lifetime Access to New Flavor Recipes Modules
- Big savings on homebrewing supplies
All in a fun & engaging format taught by 3rd Bird's master brewer- former middle school science teacher and Colorado's 2023 Non-Alcoholic Beverage Producer of the Year.
This step-by-step course takes the stress out of brewing—so you can focus on making delicious kombucha at home.
ENROLL NOW and start brewing like a pro!
Final Thoughts
Brewing kombucha at high altitude is totally possible—you just need to adjust for temperature, fermentation speed, and carbonation.
And if you want to skip the learning curve? Enroll our No-Stress Kombucha Masterclass and master homebrewing in no time.

